

How to Install a Windshield Banner on Your Car
We are happy to provide the following recommendations to guide you through the installation of your banner. If you are new to this process we recommend seeking professional installation – improper installation or use of the product will not warrant replacements or refunds.
For best results:
- DO NOT get your newly installed windshield banner wet for at least 48 hours. As a general rule, to ensure the longevity of your banner, it is ideal to allow maximum time for the adhesive to cure to the windshield/window surface.
- DO NOT run your wiper blades across your banner until it is fully cured. Once your banner has set, it’s very unlikely that normal operation of your wiper blade will remove/damage it, as long as it was installed properly.
- DO NOT install your banner when temperatures are below 10°C (59°F) and/or above 25°C (77°F) – this is a must!
Please Note: All colours of banners are suitable for wet application, except any banner in oil slick material (these will require dry install only).
IMPORTANT DETAILS
Successful installation and a long-lasting banner will depend on the weather conditions, temperature at the time of application, and proper surface prep.
- Prepare the windshield by removing any dirt, particles, grease or residue.
- Use rubbing alcohol and a clean microfiber cloth to completely remove any waxes or surface protectants prior to installation. Dish soap and hot water may be a suitable alternative if you rinse the surface thoroughly afterwards with clean water.
- DO NOT use any dedicated glass cleaners - most are ammonia-based and leave a residue on the surface, causing the banner to peel and bubble over time.
Ideal temperature range for installation is between 15°C–25°C (59°F–77°F).
-
If you attempt installation at temperatures below 10°C (59°F) the vinyl can become brittle and harder to work with, resulting in premature peeling. Please be aware the adhesive takes a minimum of 24 hours to fully cure, thus overnight temperature drops and accumulation of condensation may cause the banner to peel.
- If you attempt installation at temperatures above 25°C (77°F) have been known to cause the vinyl to become over-stretched and difficult to work with. Heat helps vinyl to become more soft and workable, but too much heat can easily result in irreparable tears and creases.
It would be ideal to install your banner to a cool windshield in the shade. DO NOT not install in direct sunlight. Avoid installing during high winds, sub-zero temperatures, heatwaves, rain etc.
INSTRUCTIONS
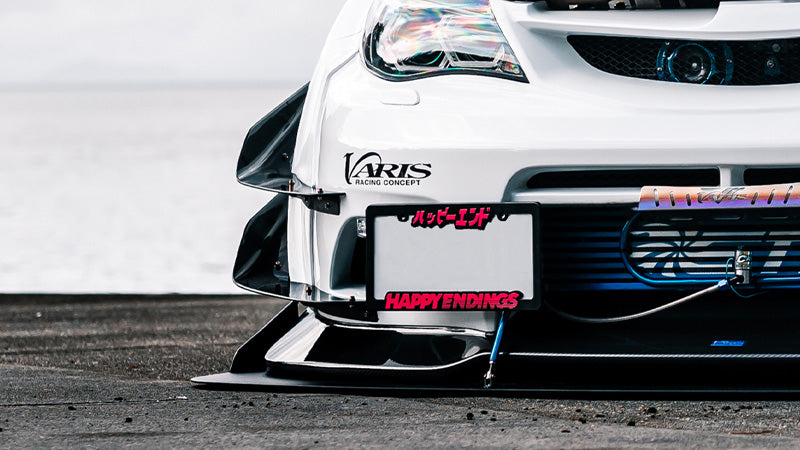
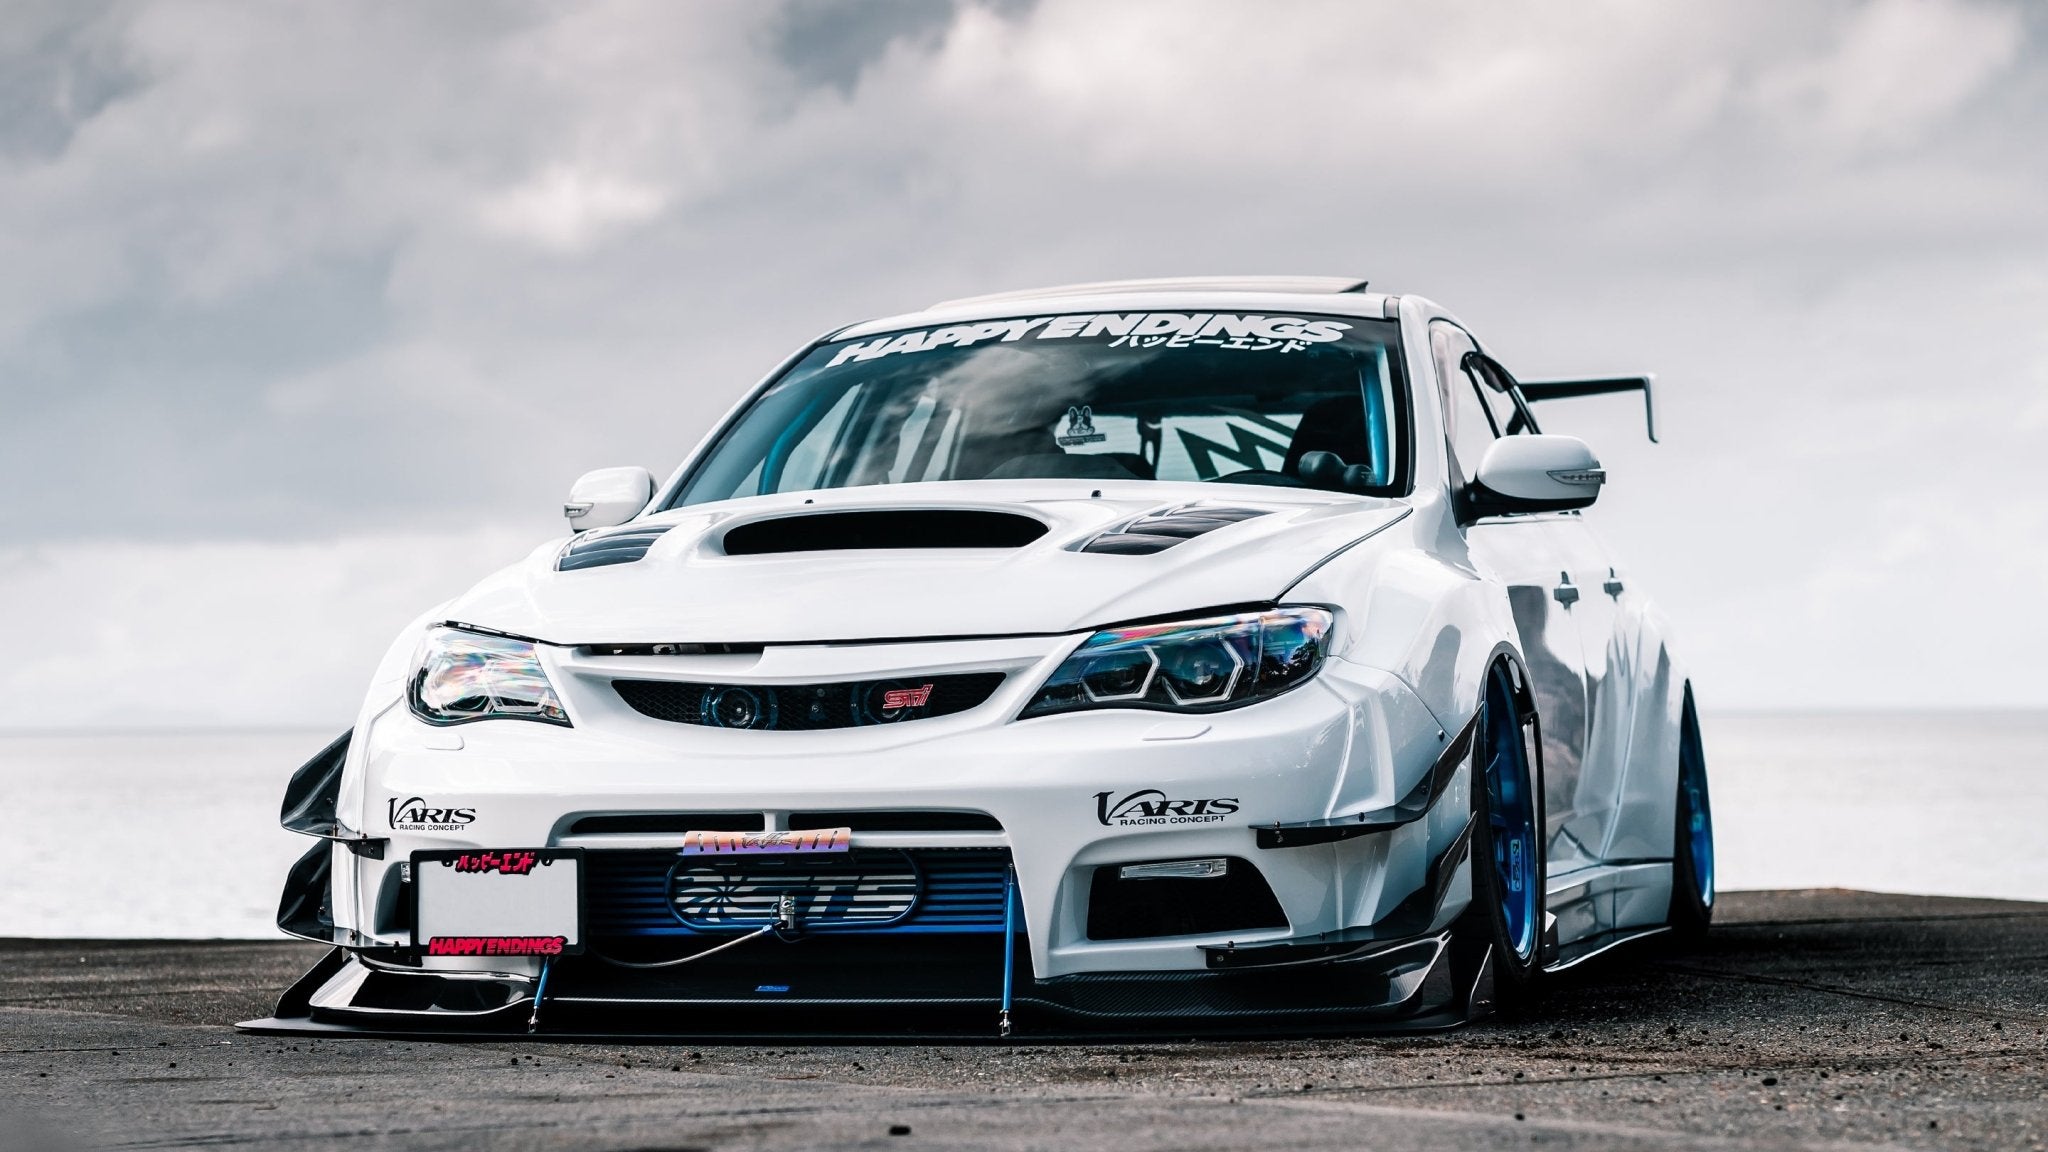
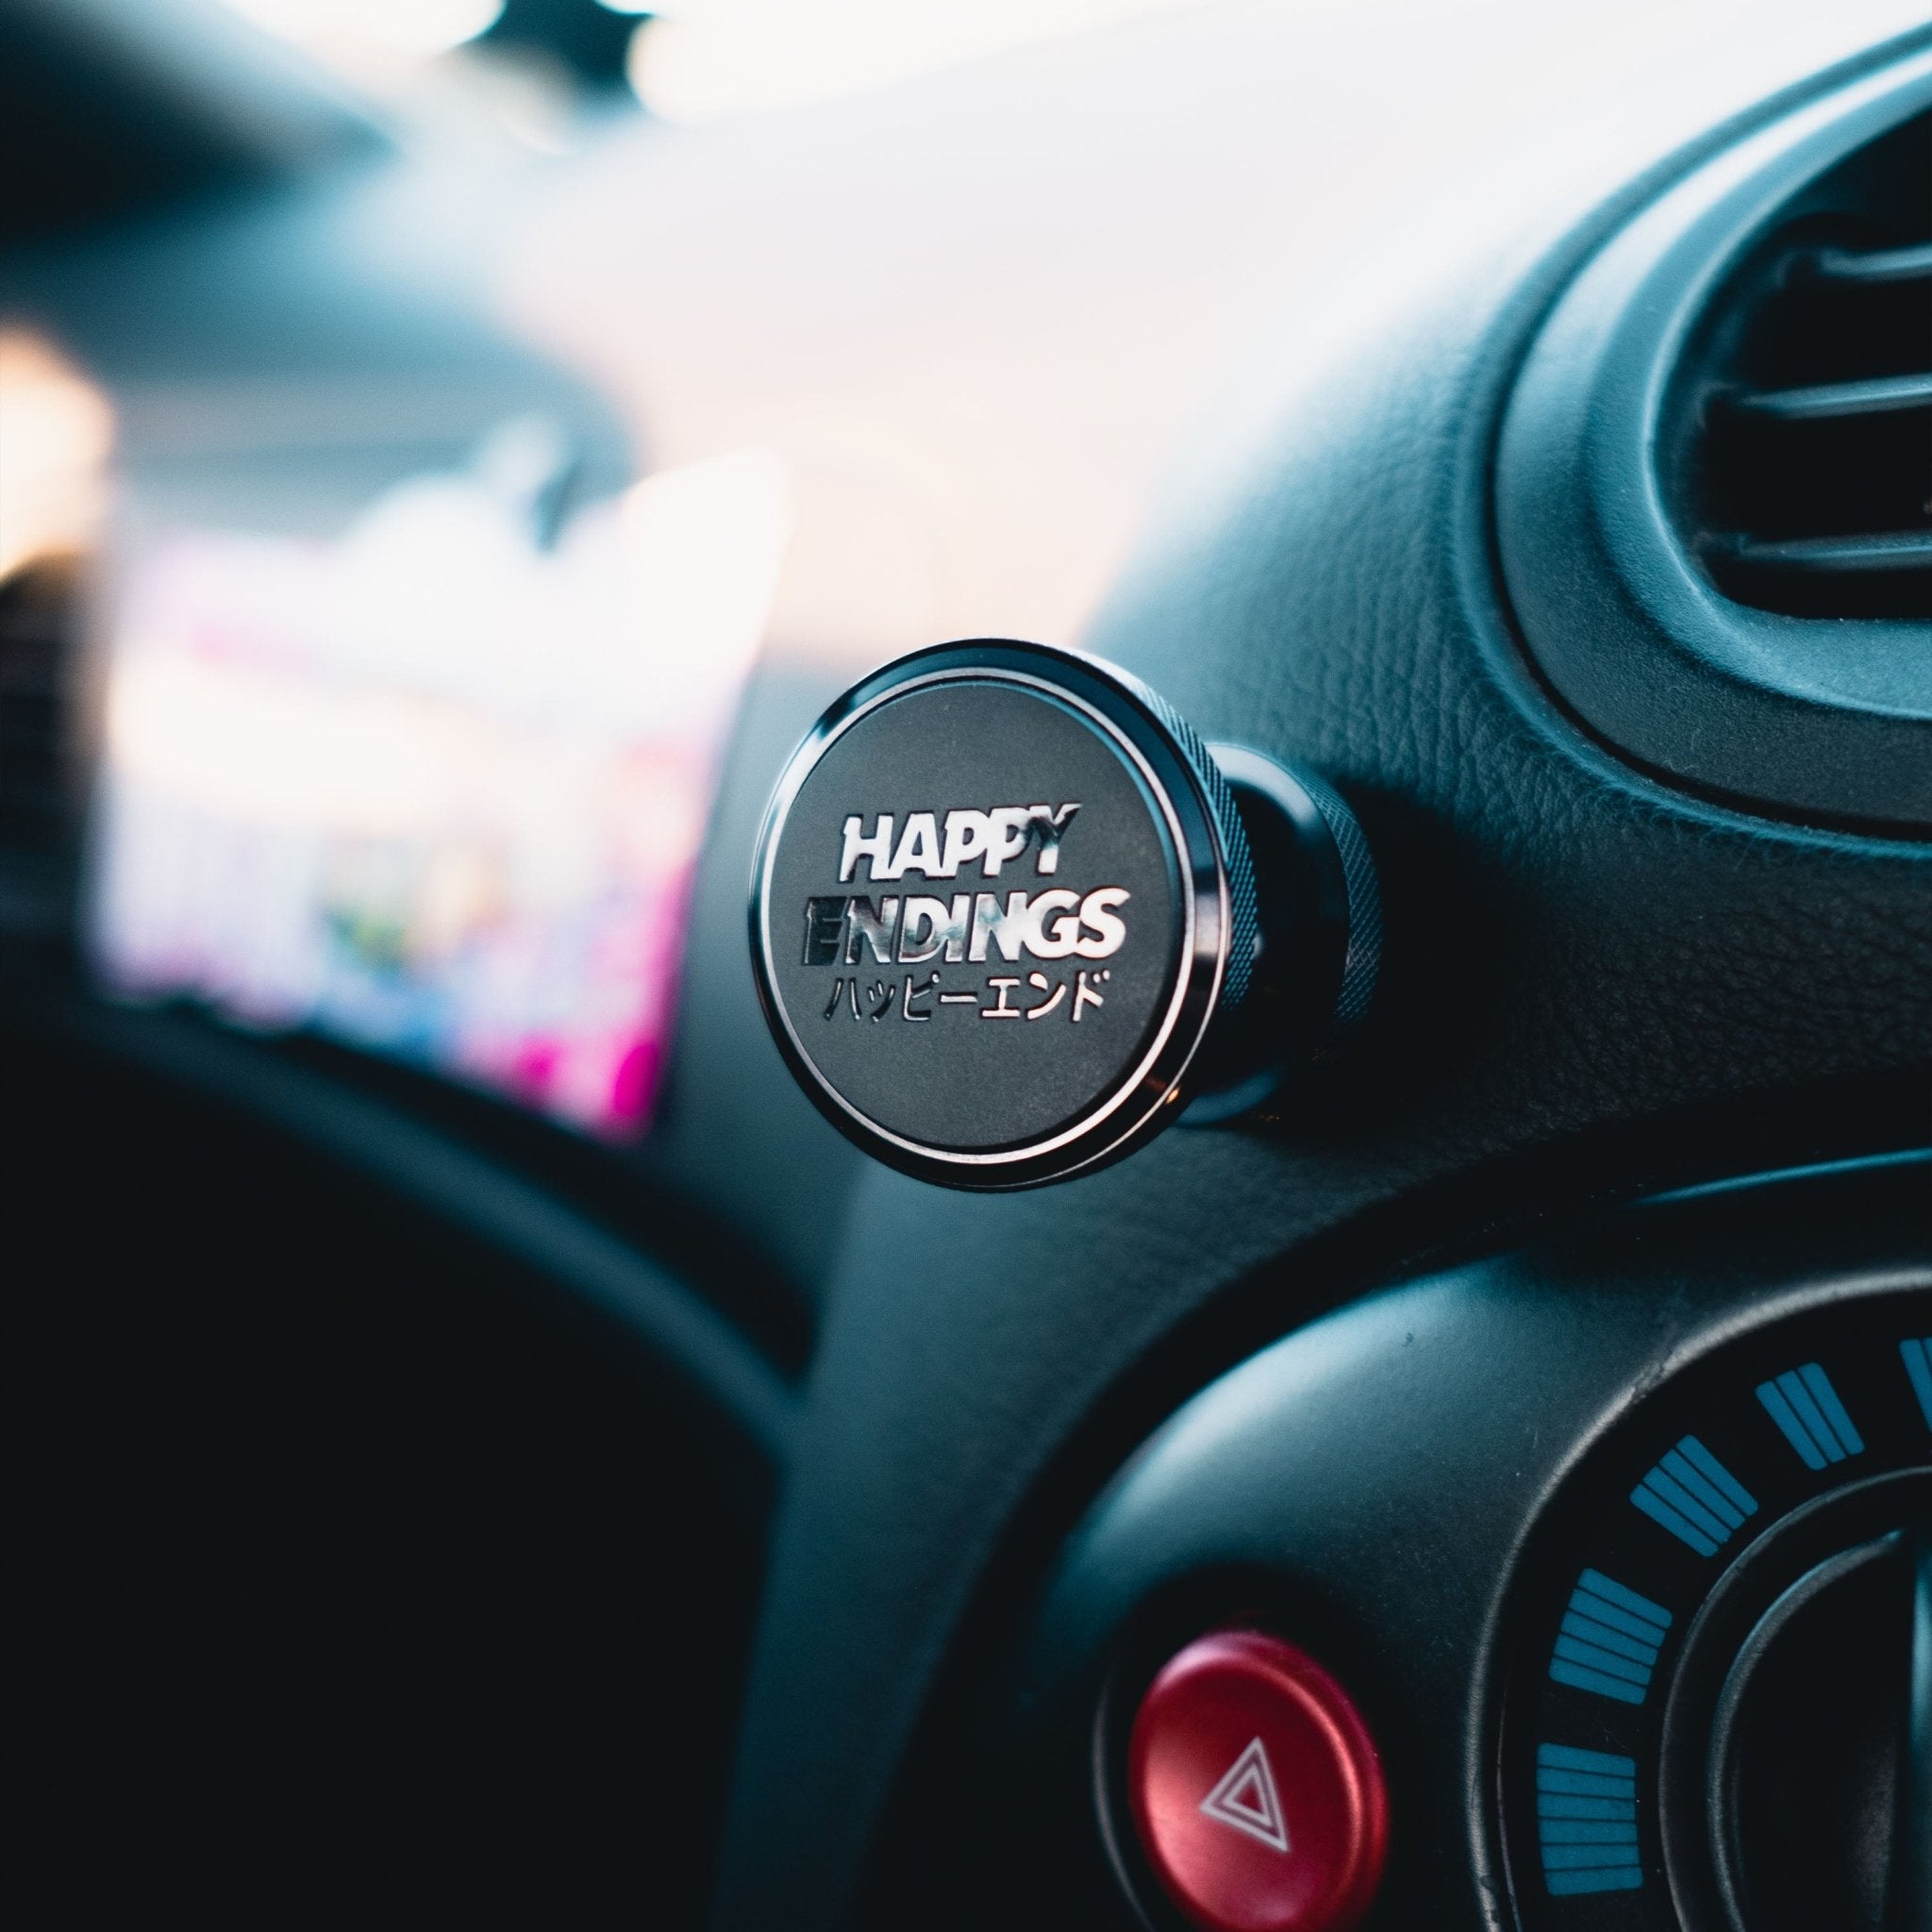
Installing a 60” HAPPY ENDINGS® banner on your windshield:
- Get a friend to help.
- Prep the window by cleaning with rubbing alcohol. You may use a clay bar first, if necessary.
- Lay the banner face down on the clean surface.
- Pull the white backing paper off of the vinyl (be careful not to tear the vinyl).
- Lightly spray vinyl with a mix of water and baby shampoo. *** DO NOT get the white backing wet ***
- Generously spray the windshield and surroundings to prevent the banner from sticking.
- Place the banner on the windshield and start moving it to the place you would like it to adhere.
- Use a squeegee to remove the water bubbles from under the vinyl.
- Use a razor to gently cut the excess vinyl from around the edges of your windshield.
- Allow the banner to dry and cure 48 hours before exposing to weather, heat, or wiper blades.
Congratulations. Step back and admire your work! Welcome to the family.
Cut Out Banners Only: Leave the preparation masking tape on for a few hours before slowly removing it to prevent the vinyl from lifting from the window. (You can wet the masking tape to make it come off easier)
Note: Small water bubbles may take up to a week to evaporate/disappear. If any edges lift on the window you can use a toothpick and a dab of some crazy glue to secure it back down.